

Ever struggled to clear your LCD writing tablet? It can be frustrating when your notes won’t disappear. Let me show you the simple solutions to get your tablet clean and ready for use again.
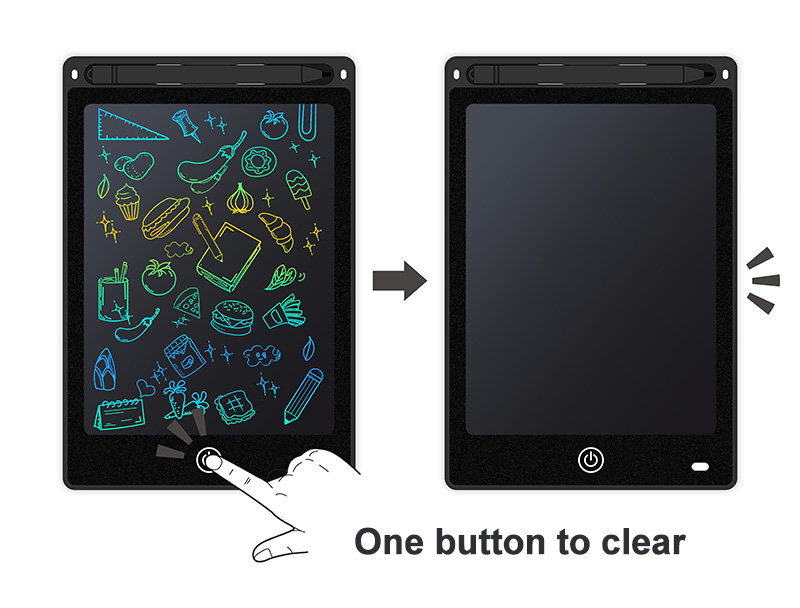
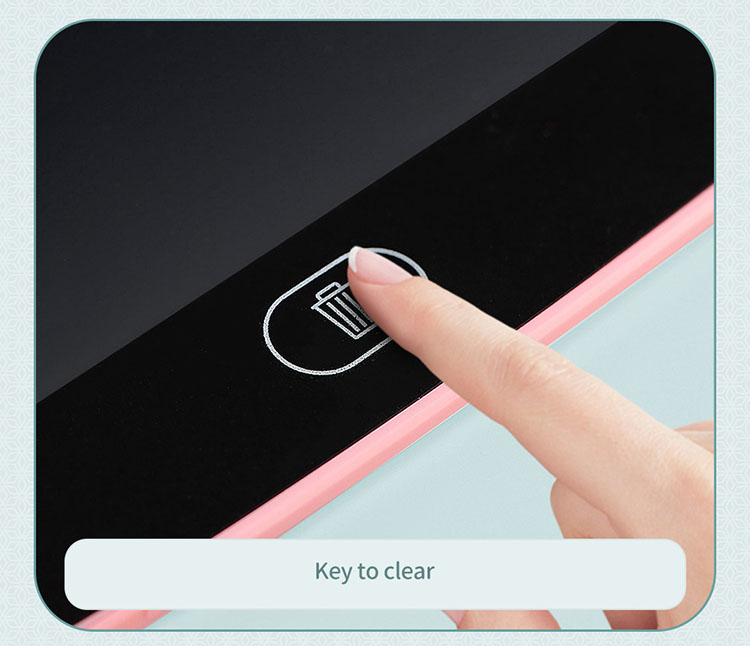
To erase an LCD writing tablet, simply press the erase button (usually marked with a trash can icon) located on the device. This causes the liquid crystals to realign, clearing all content instantly. For partial erases on some models, use the stylus eraser tip or your finger.
If you’ve been using an LCD writing tablet, you know how convenient they are for quick notes and sketches. But what happens when it’s time to clear the screen? I remember my first time using one – I pressed every button before finding the right one! Let’s look at how you can easily erase these eco-friendly writing tools.
How to erase an LCD writing tablet?
Have you pressed the erase button1 but your screen still shows ghost images? This common problem can make your tablet less useful. The erase button should reset the crystals and clear everything instantly.
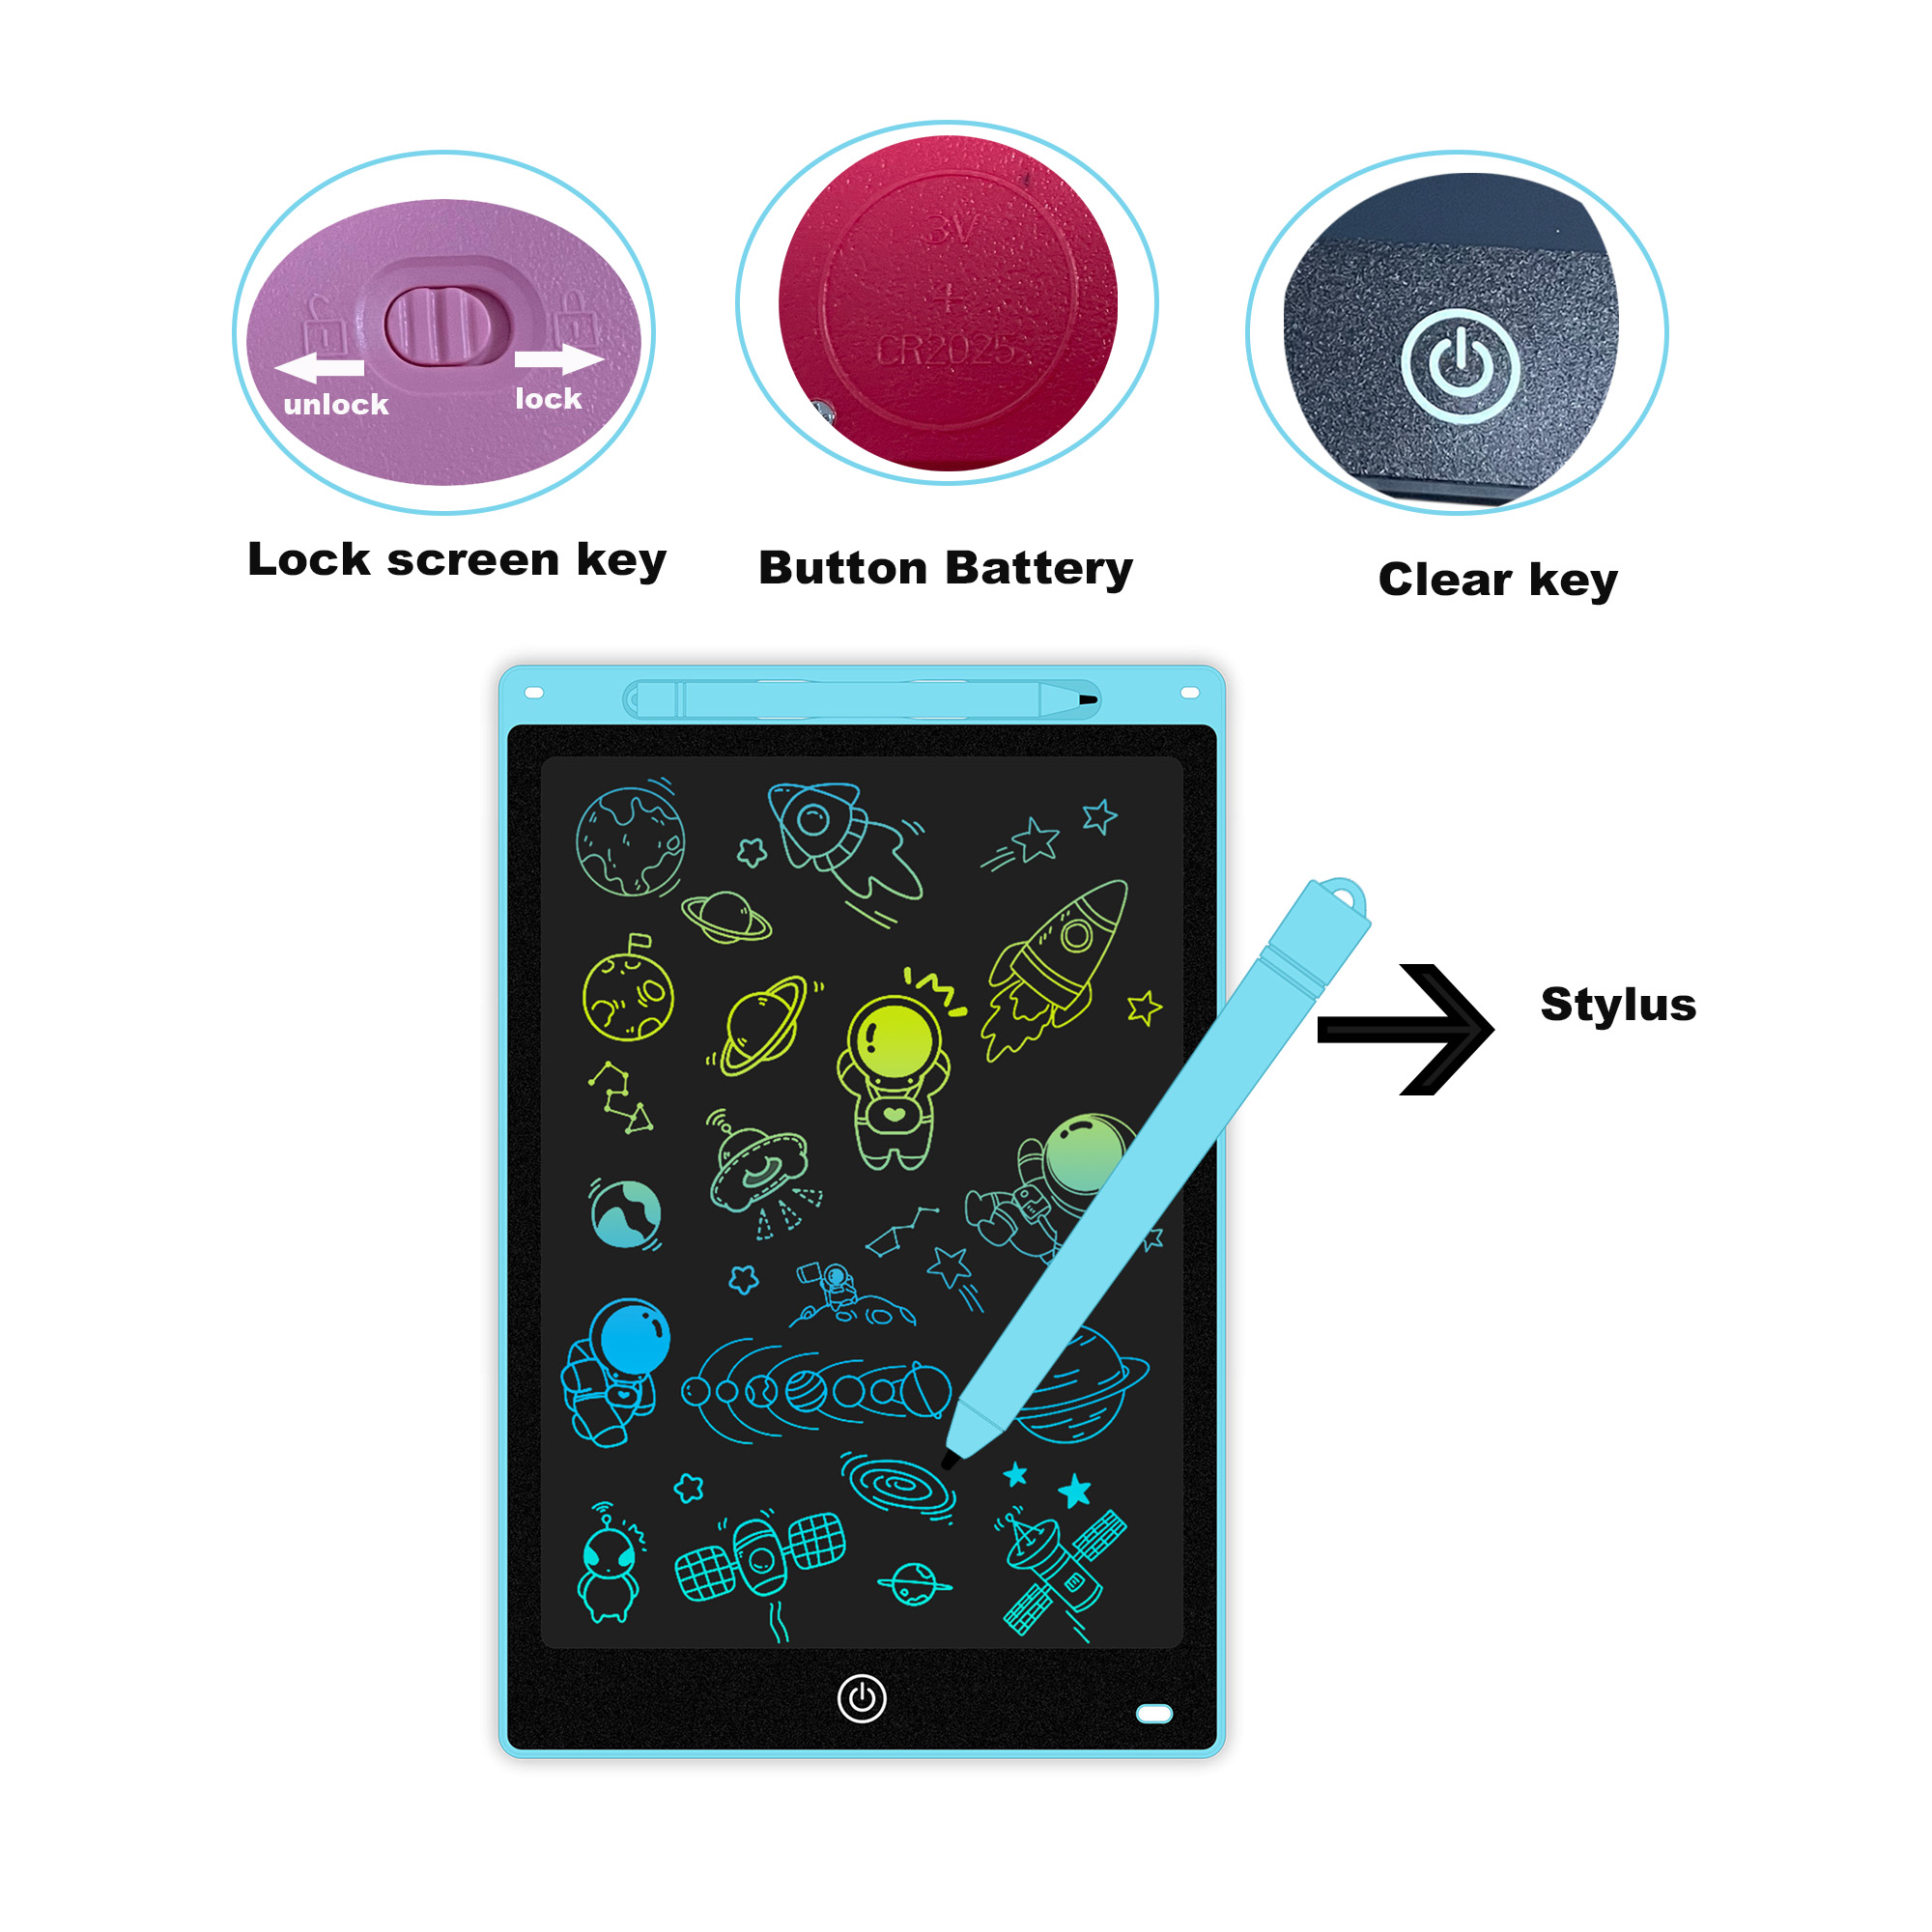
To properly erase an LCD writing tablet, locate and press the erase button firmly for 1-2 seconds. Make sure the battery has enough power, as weak batteries often result in incomplete erasing. Some models have a lock switch that must be off before erasing.
The LCD writing tablet uses pressure-sensitive liquid crystal technology that changes when you press on it with the stylus. When you press the erase button, a small electrical charge resets all the crystals to their original position. This technology is quite different from traditional tablets or digital screens since it requires no power to maintain the image – only to erase it.
Most LCD tablets feature a dedicated erase button, typically circular and sometimes marked with a trash can or refresh icon. The location varies by model, but it’s commonly found on the top, side, or front edge of the frame. Some models include additional erasing options like:
| Erasing Method | How It Works | Best For |
|---|---|---|
| Full Erase Button | Electrical pulse clears entire screen | Complete reset |
| Partial Erase | Special stylus tip erases small areas | Correcting mistakes |
| Zone Erase | Some models let you erase selected areas | Preserving important info |
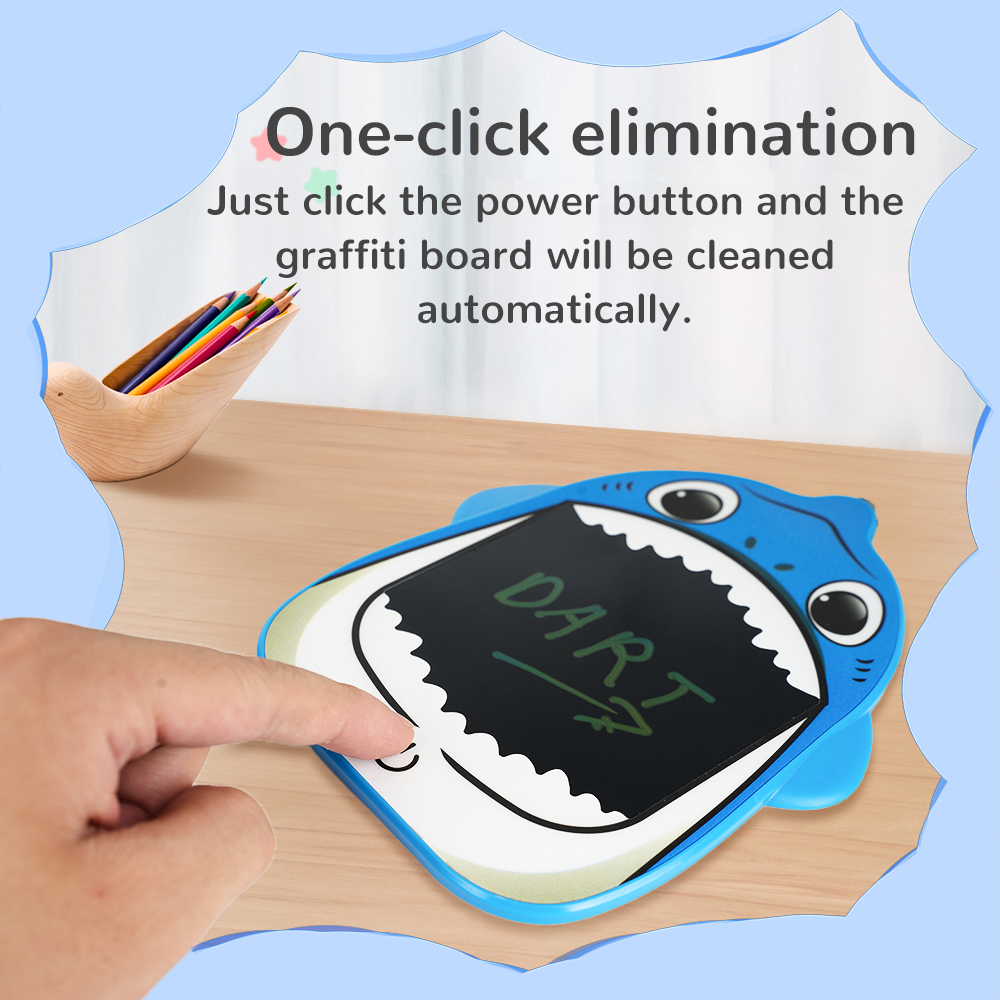
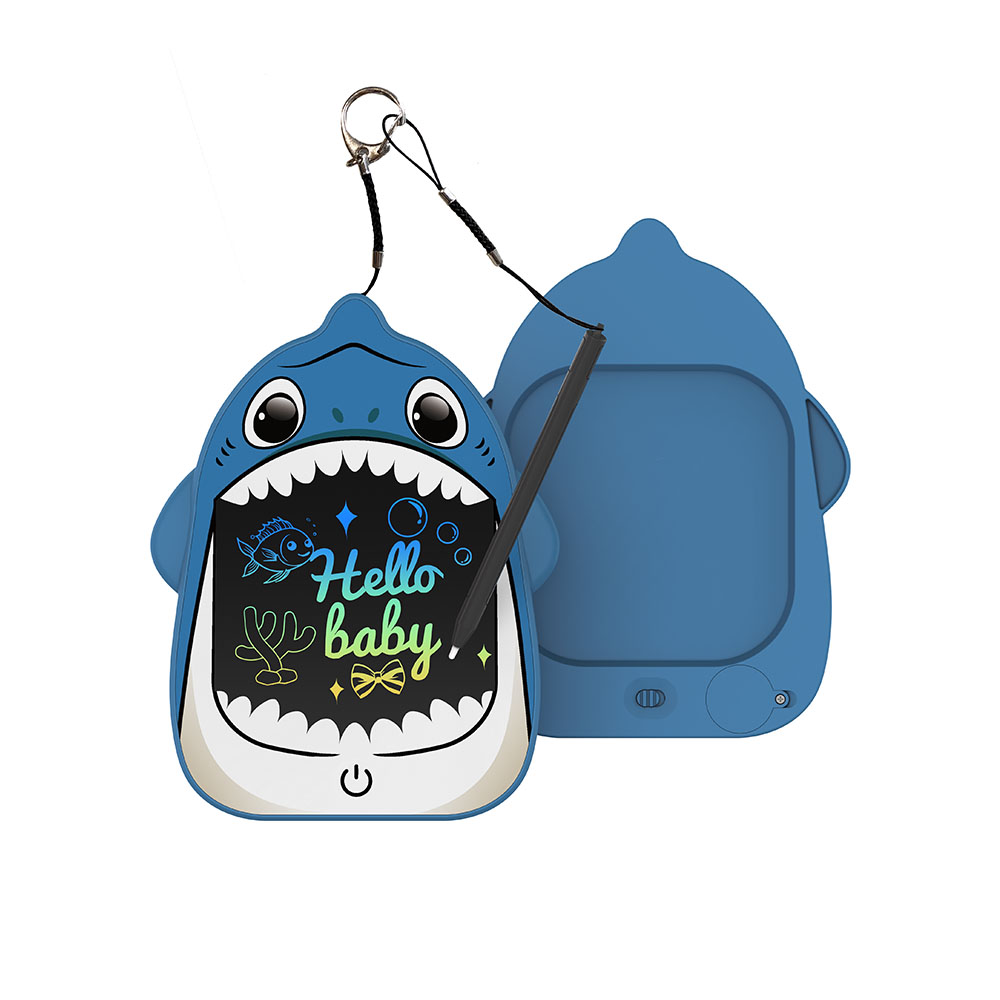
For children’s models, the erase button might be designed with bright colors or fun shapes to make it easily identifiable. Teaching kids to use the erase function properly helps extend the tablet’s battery life and prevents frustration.
Nothing’s more annoying than pressing the erase button and seeing nothing happen. Your important meeting notes remain stuck as faded ghosts on the screen. What causes this common frustration?
When an LCD writing tablet won’t erase, it’s typically due to a weak or dead battery, a locked erase function, or damaged internal components. Replace the battery first, check for a lock switch, and ensure you’re pressing the erase button firmly enough for 1-2 seconds.
The most common reason LCD writing tablets fail to erase properly is battery issues2. Unlike regular writing, which requires no power, the erasing function needs electrical current to reset the liquid crystals. I once spent an hour trying to figure out why my tablet wouldn’t erase before realizing the battery was simply depleted!
When troubleshooting erase problems, follow these steps:
-
Battery check: Most LCD tablets use button cell batteries (like CR2016 or CR2025). These typically last 6-12 months with regular use but may need replacement sooner with frequent erasing.
-
Examine for damage: Look for cracks or pressure points on the screen. Physical damage can disrupt the liquid crystal layer and prevent proper erasing.
-
Check for lock switches: Some models include a lock button to prevent accidental erasure. Make sure this isn’t engaged.
-
Temperature factors: Extreme temperatures can affect liquid crystal performance. If your tablet was left in a very hot or cold environment, allow it to return to room temperature before trying again.
-
Factory reset: Some advanced models have a pinhole reset button on the back that can restore functionality when the standard erase button isn’t working.
If none of these solutions work, it might indicate internal damage to the pressure-sensitive layer or the electronic components that generate the erasing pulse.
How to erase a writing board?
Confused about how to clean different types of writing surfaces? Each type of writing board requires specific erasing techniques. Let’s clear up the confusion about the right method for your board.
To erase a writing board, the method depends on the type. For LCD writing tablets, press the erase button. For whiteboards, use a microfiber eraser. For chalkboards, use a felt eraser. For magnetic nano-boards, use a microfiber cloth or the included eraser tool.
Writing boards have evolved tremendously over the years, and each type requires different erasing methods. I’ve used nearly every kind in different settings – from traditional chalkboards in schools to high-tech LCD tablets in business meetings. Understanding the proper erasing technique not only maintains your board’s longevity but also ensures a clean writing surface for next use.
Traditional writing boards include:
| Board Type | Erasing Method | Cleaning Frequency | Special Care |
|---|---|---|---|
| Chalkboards | Felt eraser | Weekly deep clean | Avoid water on wooden frames |
| Whiteboards | Microfiber eraser | Monthly deep clean | Use proper whiteboard cleaner |
| Glass Boards | Microfiber cloth | Bi-weekly | Glass cleaner safe |
| Magnetic Nano Boards | Special eraser tool | Rarely needs deep cleaning | Avoid harsh chemicals |
| LCD Writing Tablets | Erase button | No cleaning needed | Protect from extreme pressure |
For electronic LCD writing tablets specifically, there’s no physical residue to clean since the writing is created by displacing liquid crystals rather than depositing material onto a surface. This makes them incredibly convenient – just press a button and you have a fresh canvas!
When switching between different board types, it’s easy to forget the appropriate erasing technique. I once accidentally used whiteboard cleaner on an LCD tablet, not realizing it needed no cleaning at all. Fortunately, I wiped it off quickly and avoided damage, but it taught me to be mindful of the specific care each type requires.
How to erase a doodle board?
Got kids’ doodle boards around the house that need clearing? Different doodle boards work in different ways. Knowing the right erasing technique saves time and frustration.
To erase a doodle board, identify the type first. For magnetic doodle boards, use the sliding eraser bar. For LCD doodle boards, press the erase button. For water-drawing mats, simply let them air dry. For traditional Etch-A-Sketch, shake vigorously.
Children’s doodle boards come in various technologies designed to be simple and engaging. I’ve purchased several types for my nieces and nephews over the years, and each requires its own erasing approach. The technology behind these fun drawing tools varies significantly:
LCD doodle boards work through pressure-sensitive liquid crystal technology. When a child presses on the surface with the stylus, the crystals realign to create visible lines. These boards require a battery-powered erase function that resets all the crystals simultaneously. The erase button is typically designed to be child-friendly – larger, colorful, and sometimes featuring fun shapes or characters.
Magnetic doodle boards use countless tiny magnetic particles that rise to the surface when drawn on with the magnetic stylus. These boards feature a sliding eraser bar at the bottom that, when moved across the screen, pulls the particles back down, clearing the screen. They require no batteries and provide endless drawing opportunities.
For water-drawing doodle mats, the "ink" is actually just water applied with a special pen. As the water evaporates, the drawing disappears, making this type self-erasing after 3-10 minutes depending on environmental conditions.
Child safety is paramount in the design of these products. Most kids’ LCD writing tablets use:
- Non-replaceable, sealed batteries with 5+ year lifespan
- Rounded corners and edges
- Non-toxic materials certified for child safety
- Drop-resistant frames that protect the internal components
When choosing the right doodle board for children, consider their age and development stage. Younger children might benefit from larger, more durable magnetic options, while older kids might appreciate the precision and paper-like feel of LCD writing tablets.
Conclusion
Erasing LCD writing tablets is typically as simple as pressing the erase button. If problems occur, check the battery.

You may also be interested in:
Contact Us
Phone
+86 18975761579Website
ruiyiboard.comAddress
Shenzhen Longhua, Guangdong, China
Shenzhen Ruiyi Plastic Products Co., Ltd. is a professional manufacturer focused on eco-friendly writing products since 2016.
Our mission is to provide paper-free, ink-free, safe and environmentally friendly electronic writing solutions.
