

How Can I Get a Custom Designer LCD Drawing Toy Prototype Sample Before Placing a Bulk Order?
Worried about ordering thousands of LCD drawing toys only to find they don’t meet your expectations? Getting it wrong can cost you time, money, and customer trust.
To get a custom LCD drawing toy prototype before bulk ordering, first specify your design needs clearly, discuss feasibility with the manufacturer, pay for sample development, evaluate the prototype when received, provide feedback for necessary adjustments, and approve the final sample before placing your bulk order.
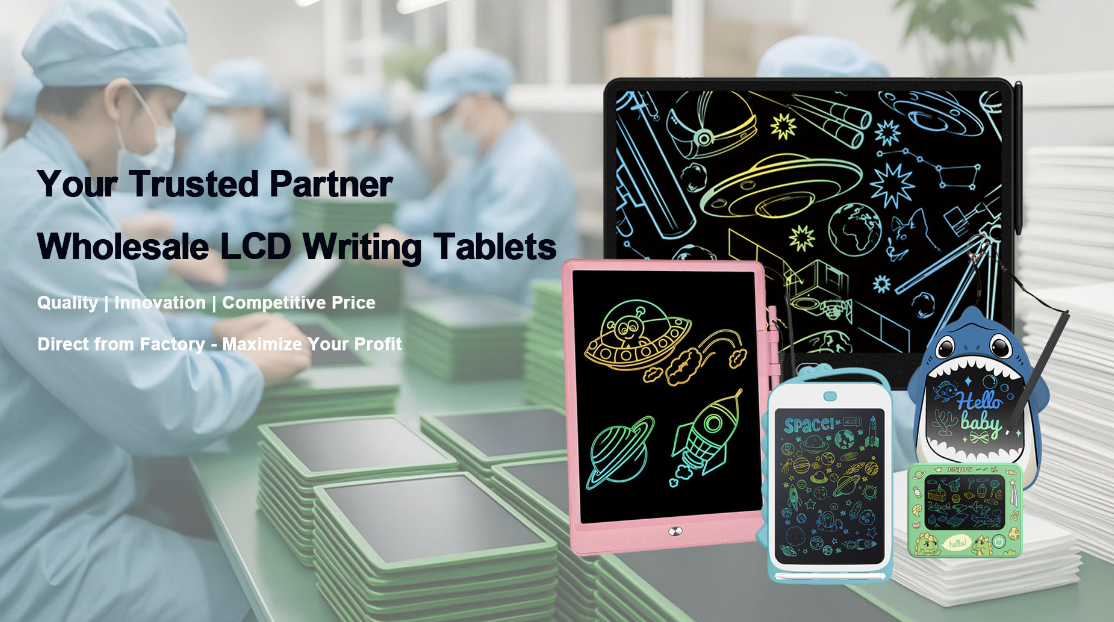
I’ve been in the LCD writing tablet manufacturing business for years, and I’ve seen how crucial prototype samples are for successful product development. Let me walk you through the exact process we use at Ruiyi Plastic to create perfect custom prototypes for our clients.
What Should I Specify When Requesting a Custom LCD Drawing Toy?
You’re excited about your product idea, but the manufacturer keeps asking for more details. What exactly do they need?
When requesting a custom LCD drawing toy, you need to specify design elements (colors, shape, size), functional requirements (writing sensitivity, battery life), special features, branding elements, and target price point. The more detailed your specifications, the closer the prototype will match your vision.
!
Requesting a custom LCD drawing toy prototype requires careful attention to detail. In my experience working with hundreds of clients, the most successful projects always start with comprehensive specifications. I recommend creating a detailed document that includes both technical and aesthetic requirements.
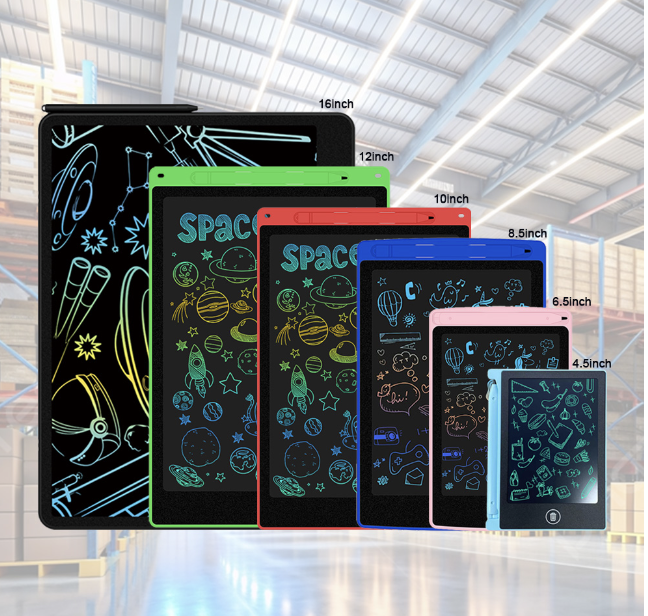
For technical specifications, include the LCD panel size (we offer 3" to 20"), desired battery life, and any special functions like partial erasure capability or pressure sensitivity. For design elements, provide color references (Pantone codes work best), dimensions, material preferences, and any unique shape requirements. Don’t forget to specify packaging requirements as well!
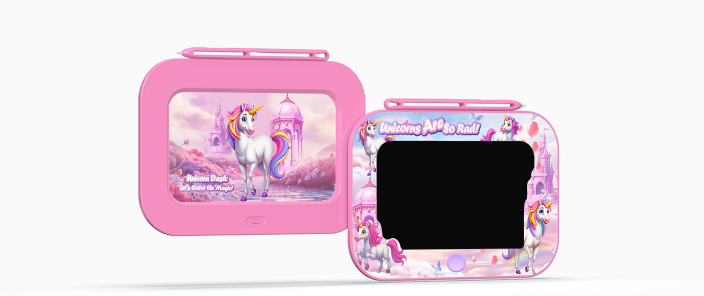
I once worked with a client who wanted a dolphin-shaped LCD tablet but only mentioned this casually in an email. We almost completed a standard rectangular prototype before realizing the miscommunication. Clear, written specifications with visual references prevent such costly mistakes and ensure we get it right the first time.
Technical Requirements
| Feature | Options to Specify |
|---|---|
| LCD Size | 3", 4.5", 8.5", 10", 12", 16", 20" |
| Battery Type | Replaceable button cell, rechargeable lithium |
| Erase Function | Full erase, partial erase capability |
| Special Features | Calculator integration, magnetic backing |
How Do I Discuss Prototype Feasibility With Manufacturers?
You’ve sent your specifications, but the manufacturer is suggesting changes. Are they trying to cut corners, or do they know something you don’t?
To discuss prototype feasibility effectively, schedule a video call with the technical team, ask specific questions about manufacturing limitations, be open to material or design alternatives, request samples of similar products, and get written confirmation of what’s possible before proceeding.
Discussing prototype feasibility is a critical step that many clients overlook. As both a manufacturer and partner in your success, I always recommend having an in-depth technical discussion before proceeding with prototype development. This conversation saves time, money, and potential disappointment.
During these discussions, our engineering team evaluates your specifications against manufacturing capabilities and constraints. For instance, if you request a 2mm thick casing for an 8.5" LCD drawing tablet, we might recommend increasing to 3.5mm for structural integrity. Similarly, certain color combinations might require special treatments that affect cost or durability.
I find it helpful to share examples of previous successful products that have similar features to what you’re requesting. This gives you a tangible reference point and helps set realistic expectations. During these discussions, we’ll also address any certification requirements for your target markets, such as CE for Europe or UL for the United States. Our products meet all major international standards, but custom designs might require specific adjustments to maintain compliance.
Remember to discuss timeline expectations clearly – while standard prototypes might be ready in 7-10 days, highly customized designs with special molds can take 15-30 days to develop properly.
What Does the Prototype Creation Process Look Like?
You’ve approved the project, but now what? How does your idea transform into a physical sample?
The prototype creation process typically includes design confirmation (3-5 days), materials procurement (3-7 days), sample production (5-10 days), quality testing (2-3 days), and shipping (3-7 days). Throughout this process, you’ll receive updates and possibly digital renders before the physical prototype is shipped.
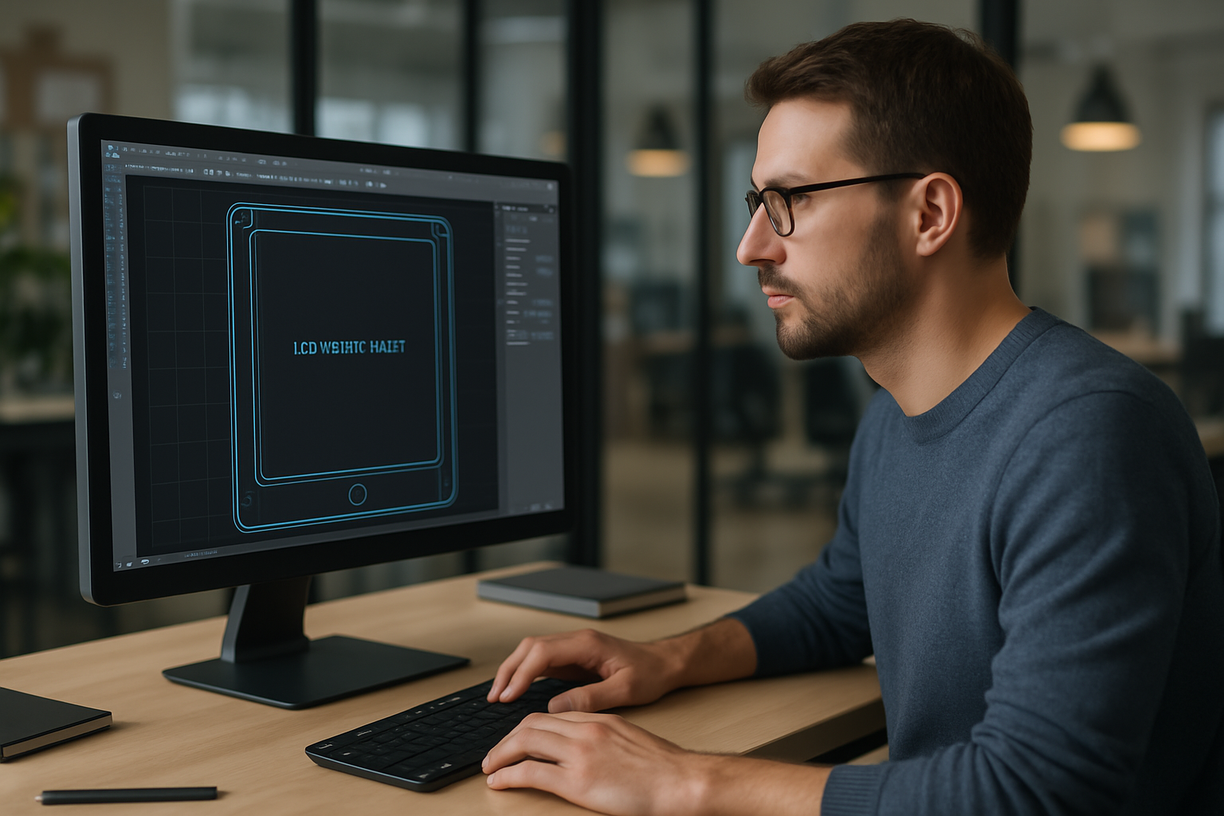
Creating your custom LCD drawing toy prototype is where science meets art. At our factory in Shenzhen, we follow a structured yet flexible process to bring your vision to life. This typically begins with our design team creating digital mockups based on your specifications, which we share for your approval before any physical production begins.
Once the design is confirmed, we select and prepare the materials. This includes procuring the LCD panel, preparing the plastic resins in your chosen colors, and organizing any special components like custom styluses or battery compartments. For custom shapes or characters, we’ll create temporary molds or modify existing ones to achieve your desired form factor.
The actual production involves injection molding the plastic components, assembling the electronic elements, and integrating the LCD panel. For special features like partial erasure capability or pressure sensitivity, our electronic engineers make the necessary circuit adjustments. Throughout assembly, our quality control team checks each component against your specifications.
After assembly, we conduct thorough testing – writing, erasing, drop tests, and battery life verification. For children’s products, we also perform safety tests to ensure compliance with international standards. We document this entire process and share photos or videos with you before shipping the prototype.
From my experience overseeing thousands of prototypes, the most successful projects are those where clients remain engaged throughout this process, providing quick feedback on digital renders and interim questions.
How Should I Evaluate the Prototype When It Arrives?
The package finally arrived! But now what? How do you know if the prototype truly meets your needs?
When evaluating your LCD drawing tablet prototype, check design accuracy against specifications, test all functionality thoroughly, assess build quality and materials, evaluate user experience with various users, check packaging quality, and compare with competing products if possible.
When your prototype arrives, it’s time for thorough evaluation. I always recommend creating a formal assessment checklist based on your original specifications. Start by examining the physical attributes – dimensions, weight, color accuracy, and overall appearance. Take photos in different lighting conditions to ensure the colors appear as expected in various environments.
Next, test all functionality extensively. For LCD drawing tablets, this means testing writing sensitivity across the entire surface, checking erase functions, battery compartment accessibility, and any special features you’ve requested. If your design includes child-friendly elements like rounded corners or bite-resistant materials, verify these safety features carefully.
I recommend having multiple people test the prototype, including representatives of your target user group if possible. Children, for example, often interact with products in unexpected ways, and their feedback can be invaluable. Record all observations systematically, noting both positive aspects and areas for improvement.
Pay special attention to durability indicators. While a prototype isn’t typically subjected to full durability testing, you can look for signs of potential issues – do the seams appear sturdy? Does the stylus store securely? Does the LCD respond consistently across the entire surface?
In my experience manufacturing LCD tablets for over seven years, I’ve found that clients who take evaluation seriously and provide detailed feedback get significantly better results in their final production run. One client discovered through careful testing that their animal-shaped tablet worked perfectly for right-handed children but was awkward for left-handed users – a crucial insight that led to an improved design.
How Do I Give Effective Feedback For Prototype Revisions?
Your prototype isn’t perfect, but how do you communicate changes without causing confusion or delays?
To give effective feedback, document issues with photos and clear descriptions, prioritize changes from critical to minor, specify exact solutions when possible, consolidate all feedback in a single document, and discuss complex issues via video call rather than just email.
Providing clear, actionable feedback on your prototype is crucial for getting the perfect final product. In my years working with clients worldwide, I’ve found that the most effective feedback follows a structured approach that minimizes misunderstandings and streamlines the revision process.
Start by organizing your feedback into categories: functional issues, design concerns, material quality, and usability feedback. For each item, provide specific details rather than general comments. Instead of saying "the writing isn’t smooth enough," specify "the stylus requires too much pressure in the upper left quadrant of the screen." Whenever possible, include visual documentation – photos with annotations or short videos demonstrating the issue.
Prioritize your feedback clearly, distinguishing between must-have changes and nice-to-have improvements. This helps us allocate resources appropriately and address critical issues first. Be sure to acknowledge positive aspects as well – telling us what worked well ensures those elements remain unchanged.
I recommend consolidating all feedback into a single, organized document rather than sending multiple emails or messages. This creates a clear reference point for both parties and prevents important details from being overlooked. For complex revisions, schedule a video call where we can discuss the changes while looking at the prototype together.
Remember that some changes might have implications for cost, manufacturing time, or other product characteristics. For example, increasing writing sensitivity might reduce battery life, or changing materials might affect durability. We’ll always explain these trade-offs so you can make informed decisions about revisions.
How Many Prototype Revisions Should I Expect Before Final Approval?
You thought one revision would be enough, but you’re on round three. Is this normal, or is something wrong?
Most custom LCD drawing toy projects require 1-2 rounds of prototype revisions before final approval. Simple customizations might be perfect on the first attempt, while complex designs with unique features might need 3-4 iterations. Each revision typically takes 7-14 days.

The number of prototype revisions needed varies by project complexity, but understanding typical patterns can help you plan effectively. In my experience managing hundreds of custom LCD tablet projects, about 60% of projects require just one revision, 30% need two revisions, and only 10% require three or more iterations.
Several factors influence how many revisions you’ll need. First is the complexity of your customization – simple color changes or logo additions usually get resolved in one round, while unique shapes or special functions often need multiple adjustments. Second is the clarity of your initial specifications – the more detailed and precise your requirements, the fewer revisions typically needed.
Each revision cycle includes feedback implementation, production of the revised sample, testing, and shipping. At Ruiyi Plastic, we typically complete this cycle in 7-14 days, depending on the extent of changes. To minimize revisions, we offer digital proofs whenever possible before producing physical samples, and we maintain regular communication throughout the process.
I recommend budgeting both time and money for at least one revision cycle, even for seemingly straightforward projects. This ensures you have the flexibility to make adjustments without rushing your decision or compromising on quality. Remember that each revision is an investment in getting your product exactly right before committing to mass production.
Some clients worry about requesting too many changes, but I always assure them that thorough prototype testing and revision is far less expensive than discovering problems after mass production. One of our most successful clients went through four prototype iterations for their educational LCD tablet – their attention to detail resulted in a product that has now sold over 500,000 units.
Conclusion
Getting a custom LCD drawing toy prototype is a crucial step before placing a bulk order. By clearly specifying your needs, working closely with your manufacturer, thoroughly evaluating the prototype, and providing clear feedback, you’ll ensure your final product meets your exact requirements.

You may also be interested in:
Contact Us
Phone
+86 18975761579Website
ruiyiboard.comAddress
Shenzhen Longhua, Guangdong, China
Shenzhen Ruiyi Plastic Products Co., Ltd. is a professional manufacturer focused on eco-friendly writing products since 2016.
Our mission is to provide paper-free, ink-free, safe and environmentally friendly electronic writing solutions.
